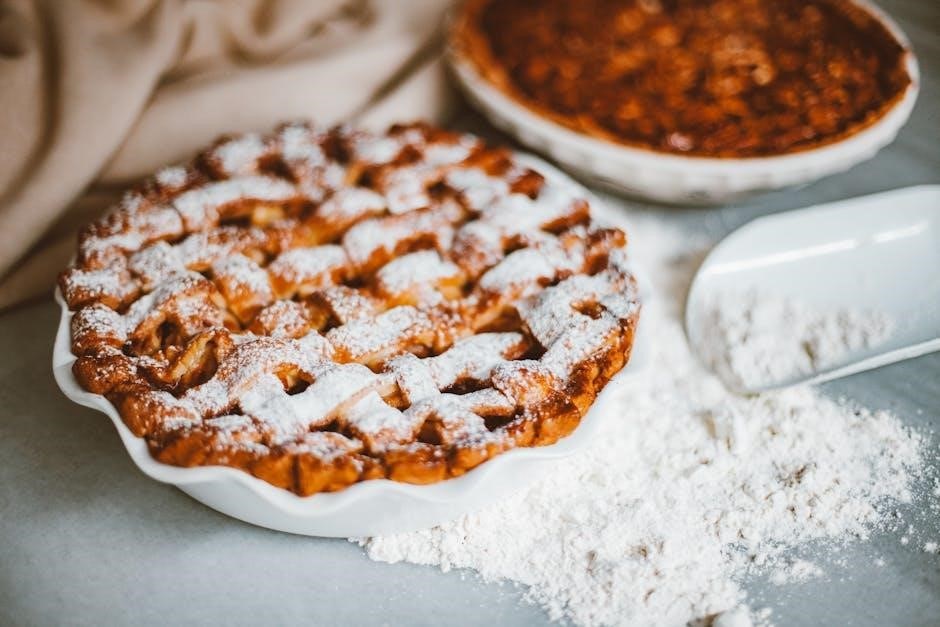
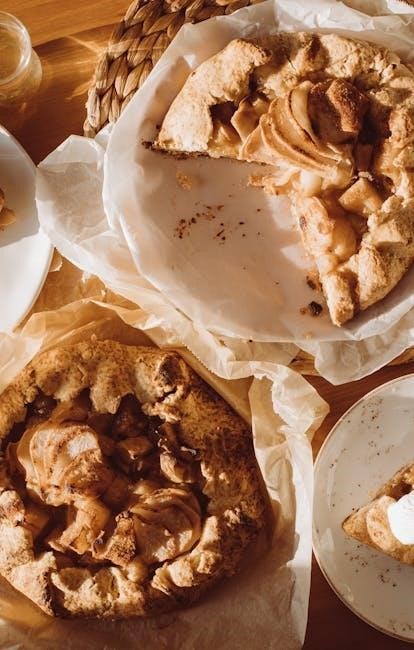
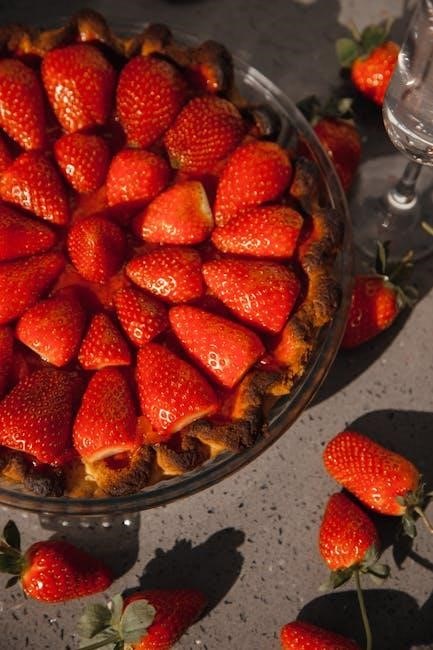
Marie Callender’s Pie Crust: A Comprehensive Baking Guide
Embark on a delightful baking journey! This guide unlocks the secrets to a flaky, golden Marie Callender-style pie crust, perfect for sweet or savory creations.
Understanding the Marie Callender’s Crust Philosophy
Marie Callender’s success lies in simplicity and quality. Their crust isn’t about complex techniques, but rather a dedication to fundamental principles – achieving a remarkably flaky texture and a subtly sweet, buttery flavor. The core philosophy centers around maintaining cold temperatures throughout the entire process. This prevents the fat from melting into the flour, which is crucial for creating those desirable layers.
The recipe emphasizes a balance between butter and shortening; butter contributes flavor, while shortening provides tenderness. A touch of sugar enhances browning and complements the filling, and a precise amount of ice water binds the dough without developing excessive gluten. Ultimately, the goal is a tender, flavorful crust that perfectly complements, rather than overshadows, the pie’s filling – a testament to classic American baking;
The Importance of Cold Ingredients
Maintaining cold temperatures is paramount for a flaky Marie Callender’s crust. Warm ingredients cause the butter and shortening to melt, resulting in a tough, dense crust instead of delicate layers. The butter and shortening should be thoroughly chilled before combining, and even briefly chilling the flour is beneficial.
Ice water is non-negotiable; it minimizes gluten development and keeps the fat solid. Even your hands should be relatively cool when handling the dough. If the dough becomes too warm during mixing, return it to the refrigerator for a brief chill. This commitment to coldness ensures the fat remains in small, distinct pieces, creating steam during baking, which separates the layers and yields that signature flaky texture.
Essential Equipment for Pie Crust Success
Achieving a perfect Marie Callender’s crust requires a few key tools. A mixing bowl (preferably glass or stainless steel) is essential for combining ingredients. A pastry blender or food processor efficiently cuts the fat into the flour, though a fork works in a pinch.
A rolling pin is crucial for evenly distributing the dough, and plastic wrap aids in chilling. A 9- or 10-inch pie plate is, of course, necessary. For blind baking, you’ll need parchment paper or aluminum foil and pie weights (ceramic or dried beans). Accurate measuring tools – measuring cups and spoons – are vital for consistent results. Having these tools prepared streamlines the process and boosts your chances of pie perfection!
Core Ingredients & Their Roles
Flour, fat, sugar, salt, and liquid are key! These components work harmoniously to create the tender, flaky texture synonymous with Marie Callender’s pies.
All-Purpose Flour: Choosing the Right Type
Selecting the correct flour is foundational for a perfect pie crust. All-purpose flour is the standard choice, providing a balance between protein content and texture. However, not all all-purpose flours are created equal! Look for unbleached all-purpose flour, as bleached flour can sometimes result in a slightly tougher crust.
The protein content in flour develops gluten when mixed with liquid, contributing to the crust’s structure. Too much protein leads to a tough crust, while too little results in a crumbly one. Marie Callender’s recipes typically utilize a standard all-purpose flour, achieving that ideal flaky tenderness.
Measuring accurately is also crucial; weighing the flour is the most precise method. If measuring by volume, spoon the flour into the measuring cup and level it off, avoiding packing it down. This ensures consistent results every time you bake!
Butter vs. Shortening: The Flavor & Texture Debate
The age-old question: butter or shortening? Marie Callender’s crust recipe cleverly utilizes both! Shortening, being 100% fat, creates a remarkably tender and flaky crust by inhibiting gluten development. However, it lacks the rich flavor of butter.
Butter contributes a delicious, buttery taste that’s undeniably appealing. It also creates a slightly more tender, though potentially less flaky, crust. Combining both offers the best of both worlds – a flaky texture and wonderful flavor.
The recipe calls for ¼ cup of each. Ensure both are very cold before incorporating them into the flour. Cold fat creates steam pockets during baking, resulting in those desirable flaky layers. Don’t substitute one entirely for the other; the blend is key to replicating the Marie Callender’s signature crust!
Sugar & Salt: Balancing Sweetness and Flavor
Don’t underestimate these seemingly small ingredients! The Marie Callender’s pie crust recipe includes 1 tablespoon of sugar and ¼ teaspoon of salt – each playing a crucial role beyond simple seasoning. Sugar tenderizes the crust by interfering with gluten formation, contributing to a more delicate texture. It also subtly enhances browning during baking, creating a visually appealing golden hue.
Salt, often overlooked in sweet applications, is vital for balancing the sweetness and enhancing the overall flavor profile. It prevents the crust from tasting bland and complements the buttery notes.
These measurements aren’t arbitrary; they’re carefully calibrated to achieve the signature Marie Callender’s taste. Adjusting them significantly can alter the crust’s texture and flavor, so stick to the recipe for optimal results!
The Egg Yolk & Liquid Combination (Ice Water & Vinegar)
The secret to tenderness lies within this mixture! The Marie Callender’s recipe calls for 1 egg yolk combined with 2 tablespoons of ice water and ½ teaspoon of vinegar. The egg yolk adds richness and contributes to a more tender, flaky crust due to its fat content.
Ice water is absolutely crucial; warm water will melt the butter, resulting in a tough crust. The cold temperature keeps the fat solid, creating those desirable flaky layers. Vinegar, though a small amount, inhibits gluten development, further enhancing tenderness.
Adding the liquid gradually is key – avoid overmixing! This combination creates the perfect hydration level for the dough.
Step-by-Step Baking Instructions
Let’s begin the baking process! Follow these clear steps to create a beautiful, flaky Marie Callender’s inspired pie crust, ready for your favorite filling.
Step 1: Combining Butter & Shortening
Begin by creaming together the fats! In a mixing bowl, combine ¼ cup of butter and ¼ cup of shortening. The recipe emphasizes beating these ingredients until they achieve a smooth and creamy consistency. This foundational step is crucial for the final texture of the crust.
Chill for firmness! Once combined, it’s vital to chill this butter-shortening mixture until it becomes firm. This chilling process ensures the fats remain cold throughout the subsequent steps, preventing them from melting prematurely and compromising the flakiness of the crust. Cold fats are key to creating those desirable layers. A firm mixture will be easier to work with when incorporating the dry ingredients.
Step 2: Incorporating Dry Ingredients
Combine and sift for lightness! In a separate medium bowl, meticulously sift together 1 ¼ cups of all-purpose flour, 1 tablespoon of sugar, and ¼ teaspoon of salt. Sifting ensures these dry ingredients are evenly distributed and aerated, contributing to a tender crust. This step prevents clumps and promotes a consistent texture throughout the dough.
Cut in the fats! Now, gradually incorporate the chilled butter and shortening mixture into the dry ingredients. Use a fork or pastry blender to “cut in” the fats until the mixture resembles a consistent, coarse crumb-like texture. Avoid overmixing; you want visible pieces of fat remaining, as these will create flaky layers when baked.
Step 3: Adding the Wet Ingredients
Bind with a tangy touch! In a small bowl, whisk together 1 egg yolk, 2 tablespoons of ice water, and ½ teaspoon of vinegar. The egg yolk adds richness and tenderness, while the ice water keeps the dough cold – crucial for flakiness. Vinegar inhibits gluten development, resulting in a more tender crust.
Gentle incorporation is key! Gradually add the wet ingredients to the flour-fat mixture, mixing gently with a fork. Avoid overmixing; just combine until the dough just comes together. It should be slightly shaggy, not a smooth ball. Overmixing develops gluten, leading to a tough crust.
Step 4: Forming the Dough & Initial Chill
Shape and rest for success! Gently gather the shaggy dough into a disc shape. Avoid kneading, as this will develop the gluten. Flatten the disc to about 1 inch thickness for even chilling. Wrap tightly in plastic wrap – this prevents drying and allows the gluten to relax.
The power of patience! Refrigerate the dough for at least 1 hour, but preferably longer – even overnight is beneficial. This chilling period is essential. It allows the fat to solidify, preventing it from melting too quickly during baking, which is vital for creating flaky layers. A well-chilled dough is much easier to roll out too!
Blind Baking the Crust
Pre-bake for perfection! Blind baking ensures a crisp crust, preventing a soggy bottom when using fillings that don’t require extended baking times.
What is Blind Baking and Why is it Necessary?
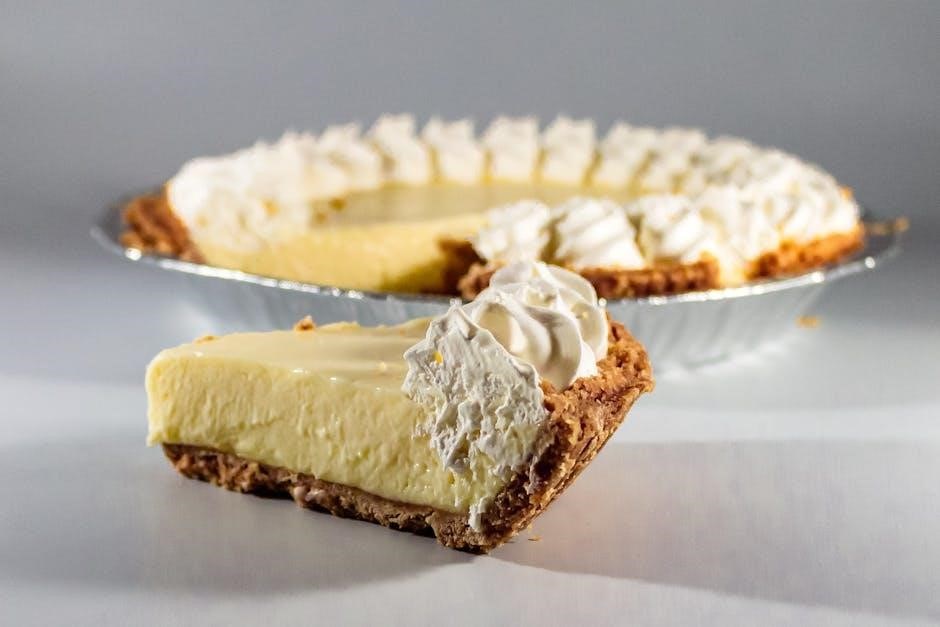
Blind baking, also known as pre-baking, is the process of baking a pie crust before adding the filling. This technique is absolutely crucial for pies with fillings that either don’t require baking, or require significantly less baking time than the crust itself. Think of creamy custard pies, chocolate pies, or even no-bake cheesecakes – these fillings would result in a soggy, underbaked crust if baked together.
Essentially, blind baking sets the crust, ensuring it’s fully cooked and structurally sound before the wet filling is added. Without it, the filling’s moisture would seep into the crust, creating an undesirable, mushy texture. The process involves lining the crust with parchment paper or foil and weighting it down with pie weights or dried beans to prevent puffing and maintain its shape during the initial bake. It’s a simple step that guarantees a beautifully crisp and golden-brown base for your delicious pie!
Preparing the Crust for Blind Baking (Docking & Weighting)
Proper preparation is key to a perfectly blind-baked crust! First, docking – gently prick the bottom of the crust all over with a fork. This prevents large air bubbles from forming during baking, which could cause the crust to puff up unevenly. Next comes weighting. Carefully line the chilled, unbaked crust with parchment paper or aluminum foil, ensuring it extends up the sides.
Now, fill the paper or foil with pie weights (ceramic or metal) or, in a pinch, dried beans. This weight presses the crust down, maintaining its shape and preventing it from slumping or bubbling excessively. The weights distribute even pressure, resulting in a uniformly baked, stable base. Don’t skip this step – it’s vital for achieving that signature Marie Callender’s flaky texture!
Blind Baking Temperature & Time (Initial Bake)
Preheat your oven to 450°F (232°C) – a high temperature is crucial for setting the crust quickly. Place the weighted, prepared pie crust directly onto the oven rack. Bake for approximately 15 minutes. This initial bake sets the structure of the crust, preventing it from becoming soggy when filled.
Keep a close watch; you want the edges to begin to turn a pale golden color. The weights will prevent excessive puffing and ensure even baking. This first stage isn’t about achieving full color, but establishing a firm foundation. After 15 minutes, carefully remove the crust from the oven – it will be hot! – and proceed to the next step for a perfectly baked shell.
Removing Weights & Finishing the Bake
Carefully remove the parchment paper or aluminum foil along with the pie weights or dried beans. Be cautious, as the crust and weights will be hot! Now, gently prick the bottom of the crust all over with a fork. This crucial step, known as “docking,” allows steam to escape, preventing the crust from puffing up unevenly and ensuring a crisp texture.
Return the crust to the oven and continue baking for an additional 5-10 minutes, or until it reaches a beautiful golden-brown color. Monitor closely to prevent burning. Once golden, remove from the oven and let the crust cool completely before filling. A fully cooled crust will hold its shape and prevent a soggy bottom!
Troubleshooting Common Issues
Don’t despair over baking mishaps! This section provides solutions for common pie crust problems like shrinkage, toughness, sogginess, and cracking.
Crust Shrinkage: Causes & Prevention
Pie crust shrinkage is a frequent frustration for bakers, but understanding the causes allows for effective prevention. Often, it stems from gluten development – overworking the dough creates a tighter structure that contracts during baking. Ensure gentle handling and avoid excessive kneading.
Another culprit is insufficient chilling. Proper refrigeration relaxes the gluten and solidifies the fat, preventing excessive shrinkage. Aim for at least one hour, or even overnight, chilling. Furthermore, stretching the dough too thinly when rolling can contribute to the problem.
Blind baking without adequate weighting also encourages shrinkage. Use enough pie weights or dried beans to firmly press the crust down during the initial bake. Finally, avoid drastic temperature fluctuations during baking; a consistent oven temperature is key to maintaining the crust’s shape.
Tough Crust: Avoiding Overworking the Dough
A tender, flaky crust hinges on minimizing gluten development. Overworking the dough creates long, elastic gluten strands, resulting in a tough, rather than delicate, texture. Handle the dough as little as possible throughout the process. When combining the butter and flour, aim for a coarse, pebbly mixture – visible pieces of fat are desirable!
Avoid vigorous kneading; instead, gently bring the dough together using a fork or your hands. Once the wet ingredients are added, mix only until the dough just comes together. Resist the urge to add more water if it seems dry; a slightly crumbly dough is preferable to an overworked one.
Chilling the dough is crucial as it relaxes the gluten and allows the fat to solidify, further inhibiting toughness. Remember, gentle handling is paramount for a truly tender crust.
Soggy Bottom Crust: Solutions & Techniques
A soggy bottom is a baker’s nemesis, but easily avoidable! Ensuring a crisp crust starts with pre-baking, or “blind baking,” especially for pies with wet fillings. Brush the bottom crust with a lightly beaten egg white before blind baking; this creates a moisture barrier.
Docking the crust – pricking it all over with a fork – allows steam to escape, preventing condensation that leads to sogginess. Bake on a preheated baking stone or steel for even heat distribution. For extra insurance, dust the bottom crust with a thin layer of flour or finely ground nuts before adding the filling.
Ensure the oven is fully preheated and consider placing the pie on the lowest rack for maximum bottom heat. A little patience and these techniques guarantee a delightfully crisp base!
Crust Cracking: Addressing Dryness
Cracking often signals a lack of moisture or overworking the dough. To combat this, ensure you’re not adding too much flour during the mixing process. Handle the dough gently and minimally; overworking develops gluten, leading to a tough, brittle crust prone to cracking.
If cracks appear during baking, gently moisten the affected areas with a little water or egg wash. Avoid excessively high baking temperatures, as this can quickly dry out the crust. A slightly lower temperature for a longer duration often yields better results.
Proper chilling is crucial; allow the dough to rest and hydrate fully. Remember, a tender crust requires a delicate touch and balanced hydration!
Variations & Enhancements
Elevate your crust! Explore flavor extracts like vanilla or almond, experiment with fats like lard, or try whole wheat or gluten-free adaptations.
Adding Flavor Extracts (Vanilla, Almond)
Subtle nuances can transform your Marie Callender’s inspired pie crust! Introducing flavor extracts is a simple yet effective way to customize your baking. A teaspoon of pure vanilla extract gently folded into the dough imparts a warm, comforting aroma and enhances the overall sweetness, complementing fruit-filled pies beautifully.
For a more sophisticated profile, consider almond extract. Its delicate, nutty notes pair exceptionally well with cherry, apple, or peach fillings. Be mindful of the extract’s potency; start with ½ teaspoon and adjust to taste. Remember, extracts are concentrated, so a little goes a long way.
Incorporating these extracts during the wet ingredient stage ensures even distribution throughout the dough, resulting in a consistently flavorful crust. Experiment with other extracts like lemon or maple for unique twists!
Using Different Types of Fat (Lard, Coconut Oil)
Beyond butter and shortening, explore alternative fats for unique crust characteristics! Lard, a traditional choice, yields exceptionally flaky and tender results due to its large fat crystals. Use fully refined lard to minimize any pork flavor. Coconut oil, particularly refined coconut oil (to avoid coconut taste), offers a vegan option and contributes a delicate, slightly different texture.
When substituting, maintain the total fat quantity. Lard and coconut oil can be used entirely in place of butter and shortening, or combined for a nuanced flavor profile. Be aware that coconut oil has a lower melting point, potentially requiring extra chilling time.
Experimentation is key! Different fats impact tenderness, flakiness, and flavor, allowing you to tailor the crust to your specific pie.
Whole Wheat Pie Crust Adaptation
Elevate your pie with a wholesome twist! Adapting the Marie Callender’s crust to whole wheat introduces a nutty flavor and heartier texture. Begin by substituting up to 50% of the all-purpose flour with whole wheat flour – starting with 1/2 cup is a good approach.
Whole wheat absorbs more liquid, so you may need to add an extra tablespoon of ice water. The dough will be slightly denser and less pliable, requiring gentle handling. A longer chilling period (at least 2 hours) is crucial to allow the gluten to relax.
Expect a less flaky, but still delicious, crust. Combining whole wheat with all-purpose flour provides a balance of flavor and texture, creating a satisfyingly rustic pie.
Gluten-Free Marie Callender’s Inspired Crust
Baking for dietary needs doesn’t mean sacrificing flavor! Creating a gluten-free version of the beloved Marie Callender’s crust requires a carefully chosen blend of flours. A 1:1 gluten-free baking flour blend, containing xanthan gum, works best as a substitute for the all-purpose flour.
Due to the lack of gluten, the dough will be more fragile. Keep all ingredients exceptionally cold, and handle the dough as little as possible. Adding a tablespoon of applesauce can improve binding.
Blind baking is highly recommended for gluten-free crusts to ensure stability. Expect a slightly different texture – often a bit more crumbly – but still wonderfully delicious!
Serving & Storage
Enjoy your masterpiece! Allow the baked crust to cool completely before filling; Store unbaked dough refrigerated, and baked crusts at room temperature.
Cooling & Handling the Baked Crust
Allowing the crust to cool properly is crucial for maintaining its structural integrity and preventing a soggy bottom. Once removed from the oven, let the baked crust cool completely on a wire rack before adding any filling. This typically takes around 30-60 minutes, depending on your kitchen’s temperature.
Handle the cooled crust with care, as it will still be somewhat delicate. Avoid applying excessive pressure, especially to the bottom, to prevent cracking or breakage. If you’ve blind-baked the crust, gently lift it from the pie plate using a spatula or pie lifter once it’s fully cooled. This ensures a clean removal and prevents damage. A properly cooled and handled crust will provide a sturdy and delicious base for your favorite pie fillings!
Storing Unbaked Pie Dough
Proper storage is key to preserving the quality of your homemade Marie Callender-inspired pie dough. After forming the dough into a disc, tightly wrap it in plastic wrap, ensuring there are no air pockets. This prevents drying and freezer burn. For short-term storage, refrigerate the wrapped dough for up to 2-3 days.
For longer preservation, freezing is an excellent option. The dough can be frozen for up to 2-3 months. When ready to use, thaw the dough overnight in the refrigerator. Allow it to sit at room temperature for about 30 minutes to soften slightly before rolling it out. Properly stored unbaked dough guarantees a flaky and flavorful crust whenever you’re ready to bake!
Storing Baked Pie Crust
Once baked to golden perfection, your Marie Callender-style pie crust can be stored effectively to maintain its delightful texture. Allow the crust to cool completely on a wire rack before storing. For short-term storage, loosely cover the cooled crust with plastic wrap or foil at room temperature for up to 2 days.
For extended storage, freezing is recommended. Wrap the cooled crust tightly in plastic wrap, followed by a layer of aluminum foil. This double layer prevents freezer burn and maintains crispness. Frozen baked crusts can last for up to 1 month. Thaw at room temperature before filling and enjoying your delicious pie!