Honeywell TH8320U1008 Installation Manual: A Comprehensive Plan
This manual details the installation of the Honeywell TH8320U1008 thermostat, covering everything from initial setup to Wi-Fi connectivity and troubleshooting.
The Honeywell TH8320U1008 is a programmable thermostat designed to provide efficient and convenient control of your home’s heating and cooling systems. This smart thermostat offers features like customizable schedules, remote access via a mobile app, and compatibility with various HVAC configurations. Understanding its capabilities is key to maximizing energy savings and comfort.
This installation manual provides a step-by-step guide for safely and effectively installing your new thermostat. Whether you’re replacing an older model or installing a thermostat for the first time, these instructions will help ensure a successful setup. Resources like YouTube tutorials and online forums can supplement this guide, offering visual aids and community support.
Package Contents and Verification
Upon opening the Honeywell TH8320U1008 package, carefully verify that all components are present. You should find the thermostat unit itself, a mounting base plate, screws and wall anchors for secure installation, and a detailed installation manual – this document! Some packages may also include wire labels to aid in the wiring process.
Inspect each item for any signs of damage that may have occurred during shipping. If any parts are missing or damaged, do not proceed with the installation. Contact Honeywell support immediately for replacements. Proper verification ensures a smooth and trouble-free installation experience, preventing delays and potential issues later on.
Safety Precautions
Before beginning the installation of your Honeywell TH8320U1008 thermostat, prioritize safety. Always disconnect power to your HVAC system at the breaker box to avoid electrical shock. If you are uncomfortable working with electrical wiring, consult a qualified HVAC technician.
Wear appropriate safety glasses to protect your eyes from dust and debris. Be mindful of the wiring – incorrect connections can damage your system. Do not install the thermostat in a location exposed to direct sunlight, extreme temperatures, or moisture. Following these precautions will ensure a safe and successful installation process, protecting both you and your HVAC equipment.
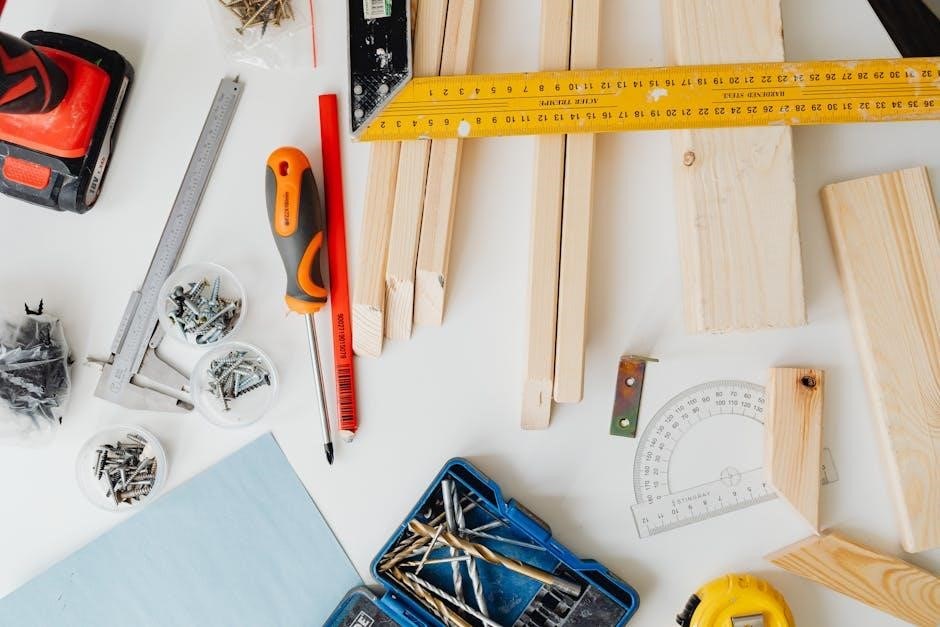
Tools Required for Installation
To successfully install your Honeywell TH8320U1008 thermostat, gather the necessary tools beforehand. You will need a Phillips head screwdriver for mounting the base plate and securing wiring connections. A small, flathead screwdriver can be helpful for terminal adjustments.
Wire strippers are essential for preparing the thermostat wires, ensuring clean connections. A level is crucial for mounting the base plate straight, guaranteeing accurate temperature readings. A digital multimeter can assist in verifying power is off and testing wire continuity. Finally, a pen or marker is needed for labeling wires during removal – this is extremely important!
Understanding the Thermostat Terminals
The Honeywell TH8320U1008 utilizes standard thermostat terminals for compatibility with most HVAC systems. Familiarizing yourself with these is key to correct wiring. The ‘R’ terminal provides 24V power, while ‘C’ is the common wire – often required for consistent power. ‘W’ activates heating, ‘Y’ controls cooling, and ‘G’ energizes the fan.
Some systems may include additional terminals like ‘O/B’ for reversing valves (heat pumps) or ‘Aux’ for auxiliary heat. Incorrect wiring can damage your system, so double-check your existing wiring and HVAC documentation before proceeding.
Identifying the R, C, W, Y, and G Terminals
The ‘R’ terminal is your 24V power source, typically red. The ‘C’ terminal, often blue, completes the circuit and is crucial for reliable operation. ‘W’ (white) activates the heating system, while ‘Y’ (yellow) controls cooling. The ‘G’ terminal (green) powers the blower fan, circulating air throughout your home.
Carefully examine your existing thermostat’s wiring. Terminal labels may be faded or obscured. If unsure, consult your HVAC system’s wiring diagram. Proper identification prevents damage and ensures correct functionality. A multimeter can verify power at the ‘R’ terminal.
Common Wiring Configurations
Conventional systems typically use a five-wire configuration: R, C, W, Y, and G. However, some older systems may lack a ‘C’ wire, requiring a ‘C-wire adapter’ for consistent power. Heat pump systems often include an additional ‘O/B’ terminal for reversing valve control. Millivolt systems, common in fireplaces, operate differently and require specific wiring procedures.
Always document your existing wiring before disconnecting anything. Incorrect wiring can damage your HVAC system. If you encounter an unfamiliar wiring setup, consult a qualified HVAC technician. Online resources and the Honeywell support website offer wiring diagrams for various system types.
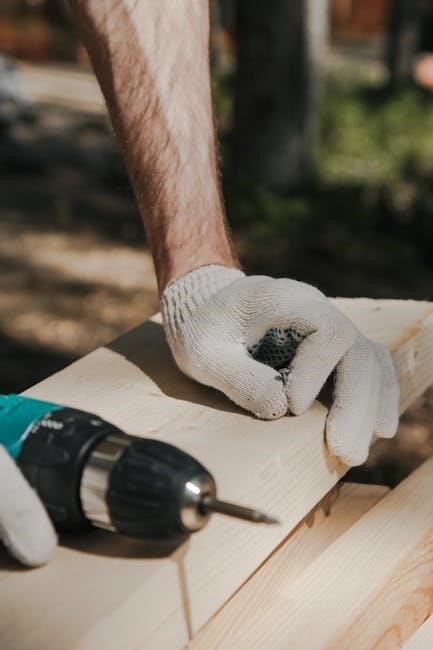
Removing the Old Thermostat
Before beginning, safety is paramount: completely power off your HVAC system at the breaker box. This prevents electrical shock and potential damage to the equipment. Carefully remove the old thermostat’s cover, exposing the wiring terminals. Crucially, label each wire with its corresponding terminal letter before disconnecting. A simple masking tape and pen method works effectively.
Take a photograph of the wiring for reference. Gently pull each wire free from the terminals – avoid forcing them. Once all wires are disconnected, remove the old baseplate from the wall.
Powering Off the HVAC System
Prior to any wiring work, absolutely disconnect power to your heating and cooling system. Locate the circuit breaker that controls your furnace and air conditioner – it’s often labeled “Furnace” or “HVAC”. Switch the breaker to the “OFF” position. Double-check that the system is indeed powered down by attempting to turn on the fan or adjust the temperature on your existing thermostat.
This crucial step prevents electrical shock and safeguards both you and the sensitive electronic components of both the old and new thermostats. Ignoring this precaution could result in serious injury or damage to your HVAC equipment.
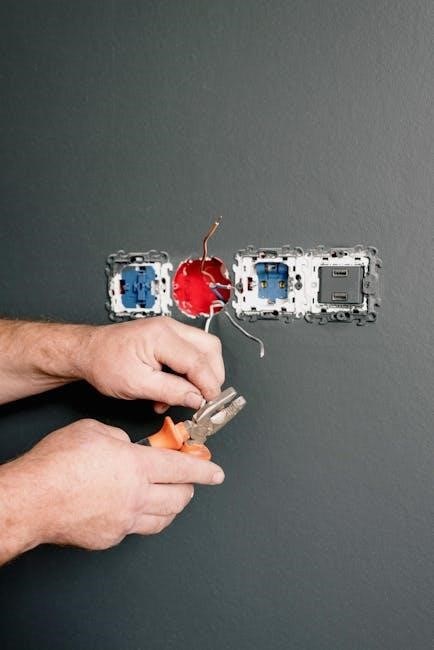
Disconnecting the Wires – Labeling is Crucial!
Carefully disconnect the wires from your old thermostat, one at a time. Before disconnecting each wire, use small, pre-printed labels (often included with the TH8320U1008) to clearly mark both the wire and the terminal it’s connected to. Note the terminal letter – R, C, W, Y, G, etc. – on the label.
Accurate labeling is paramount! Incorrect wiring can damage your HVAC system. A photograph of the existing wiring configuration before disconnection is also highly recommended as a backup reference. Avoid pulling on the wires; gently loosen the screws or release the clips holding them in place.
Mounting the Honeywell TH8320U1008 Base Plate
Begin by selecting a suitable location for the thermostat base plate, ensuring it’s away from direct sunlight, drafts, and heat sources. Use a level to confirm the wall is even. If necessary, use the provided wall anchors for drywall installations.
Position the base plate and mark the screw holes. Drill pilot holes if needed. Secure the base plate to the wall using the supplied screws, ensuring it’s firmly attached and level. A properly mounted base plate is crucial for accurate thermostat operation and a clean, professional appearance.
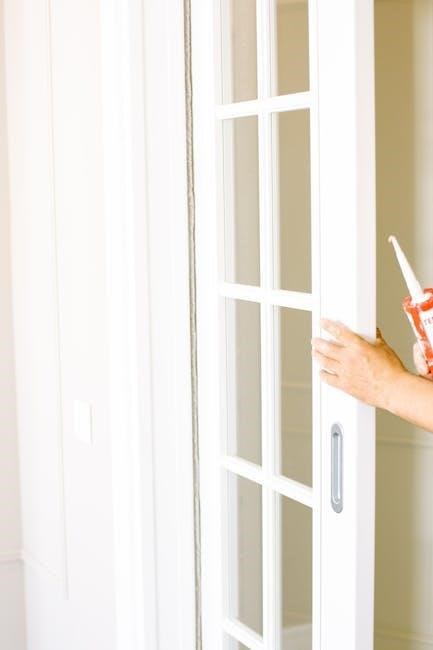
Wall Preparation and Leveling
Before mounting the base plate, thoroughly inspect the wall surface. Ensure it’s clean, dry, and free of any obstructions like loose paint or wallpaper; Use a level – either a bubble level or a digital level – to determine if the wall is perfectly vertical.
If the wall isn’t level, minor adjustments can be made using shims placed behind the base plate. For significant unevenness, consider patching the wall before installation; A level base plate guarantees accurate temperature sensing and proper thermostat functionality, preventing skewed readings and ensuring optimal HVAC performance.
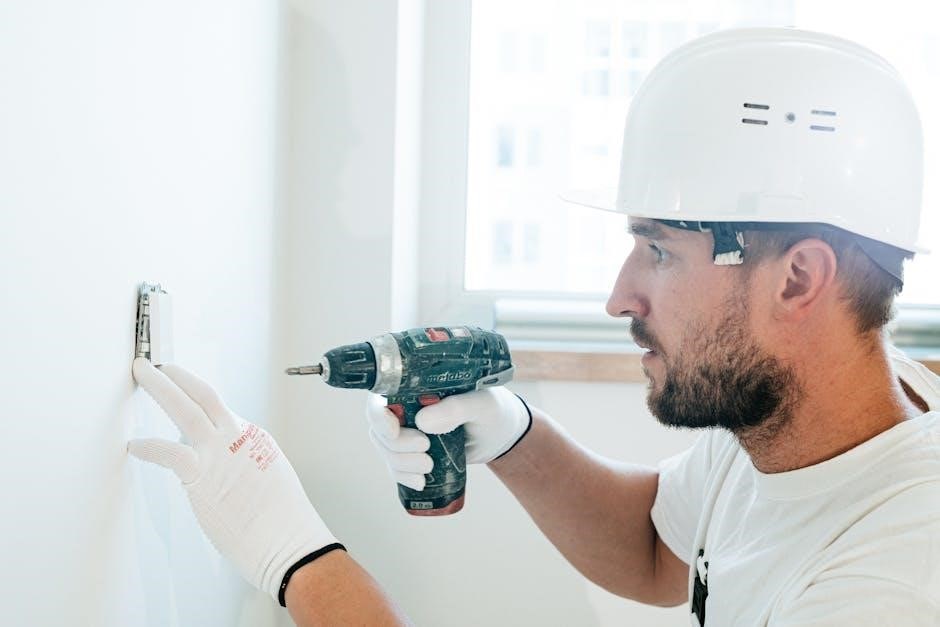
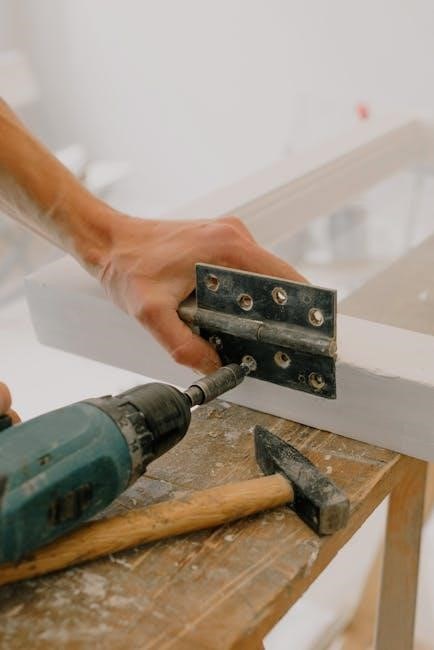
Securing the Base Plate with Screws
Once leveled, use the provided screws to firmly attach the base plate to the wall. Ensure the screws are appropriate for your wall type – drywall anchors may be necessary for hollow walls. Avoid over-tightening, as this could damage the base plate or the wall itself.
Confirm the base plate is securely mounted and doesn’t wobble. A stable base is crucial for proper thermostat operation and prevents potential wiring issues. Double-check that the screws are flush with the base plate surface before proceeding to the wiring stage, ensuring a clean and professional installation.
Wiring the Honeywell TH8320U1008
Carefully connect the wires to the corresponding terminals on the base plate. Refer to the wiring diagram and your previous labeling for accurate connections. Gently push each wire into its designated terminal until it clicks securely. A loose connection can cause malfunctions or damage to the system.
Double-check all connections before proceeding. Ensure no bare wire is exposed outside the terminals to prevent short circuits. If you encounter difficulty, revisit the terminal identification section. Proper wiring is paramount for safe and efficient operation of your Honeywell TH8320U1008 thermostat.
Connecting the Wires to the Correct Terminals
Match each labeled wire to its corresponding terminal on the Honeywell TH8320U1008 base plate. Typically, ‘R’ is for power, ‘C’ for common, ‘W’ for heating, ‘Y’ for cooling, and ‘G’ for the fan. Ensure a snug fit by gently inserting each wire fully into its terminal slot.
Avoid forcing the wires; if resistance is felt, re-examine the terminal and wire. Incorrect wiring can lead to system failure or damage. Refer to your HVAC system’s wiring diagram alongside the thermostat’s documentation for confirmation. Precise connections are crucial for optimal performance and safety.
Ensuring Secure Wire Connections
After inserting each wire, gently tug on it to confirm it’s firmly held within the terminal. A loose connection can cause intermittent operation or complete system failure. If a wire pulls out easily, double-check its insertion or consider using a small screwdriver to tighten the terminal screw (if applicable).
Avoid over-tightening, as this could damage the terminal. Inspect each connection visually to ensure no bare wire is exposed outside the terminal. Secure connections are paramount for reliable thermostat operation and preventing potential electrical hazards. A stable connection guarantees accurate temperature control.
Attaching the Thermostat Display to the Base Plate
Carefully align the thermostat display with the mounted base plate. Most models feature a simple snap-on design; ensure it clicks securely into place. Avoid forcing the display, as this could damage the internal connectors. Gently press around the edges of the display until it’s flush with the base plate.
Verify a snug fit by lightly attempting to wiggle the display – it should not move. A secure attachment ensures proper functionality and prevents accidental disconnections. Once attached, the display should remain firmly in position during normal use, providing clear visibility of the temperature and settings.
Powering On the HVAC System and Initial Setup
After wiring, restore power to your HVAC system at the breaker box. The Honeywell TH8320U1008 should power on automatically, displaying the welcome screen. If it doesn’t, double-check all wiring connections and the breaker status. The initial setup will guide you through essential configurations.

This includes selecting your system type (heat pump, forced air, etc.) and potentially connecting to your home’s Wi-Fi network for remote access. Follow the on-screen prompts carefully to ensure accurate settings. Accurate setup is crucial for optimal performance and energy efficiency.
Programming the Thermostat – Basic Settings
Begin by setting the current date and time on your Honeywell TH8320U1008. Accurate timekeeping is essential for scheduling functions. Next, configure the system type – choose between Heat, Cool, Auto, or Off, depending on your HVAC setup. The ‘Auto’ setting allows the thermostat to switch between heating and cooling as needed.
Explore the menu options to adjust temperature units (Fahrenheit or Celsius) and enable or disable features like swing adjustment. These basic settings form the foundation for creating personalized comfort schedules. Refer to the thermostat’s display for intuitive navigation.
Setting the Date and Time
To accurately set the date and time on your Honeywell TH8320U1008, navigate to the ‘Settings’ menu using the thermostat’s touchscreen or buttons. Locate the ‘Date’ and ‘Time’ options. Use the up and down arrows to adjust the month, day, and year. Similarly, adjust the hour and minute to reflect the current time.
Ensure you select the correct AM or PM designation. Accurate date and time settings are crucial for proper scheduling and operation of your heating and cooling system. Confirm your selections and save the changes. A correctly configured time ensures automated features function as intended.
Configuring the System Type (Heat, Cool, Auto)
Properly configuring your system type is essential for optimal performance of the Honeywell TH8320U1008. Access the ‘Settings’ menu and locate the ‘System Type’ option. You’ll typically have three choices: ‘Heat,’ ‘Cool,’ or ‘Auto.’ Select ‘Heat’ if you only have a heating system. Choose ‘Cool’ for cooling-only systems.
‘Auto’ is ideal for systems with both heating and cooling, allowing the thermostat to switch automatically based on the set temperature. Ensure your selection accurately reflects your HVAC setup. Incorrect configuration can lead to inefficient operation or the system not functioning correctly. Save your changes after selection.
Creating a Heating and Cooling Schedule
The Honeywell TH8320U1008 allows for customized heating and cooling schedules to maximize comfort and energy savings. Access the ‘Schedule’ menu on the thermostat. You can typically create different schedules for weekdays and weekends, or even individual days. Define specific time periods and desired temperatures for each period – for example, ‘Wake,’ ‘Leave,’ ‘Return,’ and ‘Sleep.’
Adjust temperatures to suit your lifestyle. Lowering temperatures while away or asleep significantly reduces energy consumption. The thermostat will automatically adjust based on your programmed schedule, providing consistent comfort without manual intervention. Review and adjust your schedule periodically for optimal efficiency.
Understanding the Thermostat Display Icons
The Honeywell TH8320U1008 utilizes various icons to communicate system status. A flame icon indicates the heating system is active, while a snowflake signifies cooling. A fan icon displays whether the fan is set to ‘Auto’ or ‘On.’ The ‘Hold’ icon shows a manually set temperature overriding the schedule. A Wi-Fi symbol confirms a successful network connection.
Other icons may indicate low batteries, system errors, or specific operating modes. Refer to the complete user guide for a detailed explanation of each icon. Understanding these visual cues allows for quick diagnosis of system behavior and ensures optimal performance and comfort. Familiarize yourself with these indicators for efficient operation.
Troubleshooting Common Installation Issues
If the thermostat fails to power on, first verify the HVAC system’s breaker hasn’t tripped. Double-check all wiring connections, ensuring they are secure and correctly placed on the terminals. Incorrect temperature readings often stem from improper thermostat placement – avoid direct sunlight or drafts. If the display is unresponsive, attempt a reset to factory defaults.
Connectivity problems can be resolved by confirming your Wi-Fi network details and signal strength. For unresponsive systems, consult the detailed troubleshooting section within the user manual or Honeywell’s support website. Proper diagnosis and correction are vital for optimal performance.
Thermostat Not Powering On
A common issue is a tripped circuit breaker supplying power to your HVAC system; verify it’s reset. Carefully inspect the ‘C’ wire connection – a missing or loose ‘C’ wire is a frequent cause. Ensure all wiring is firmly seated on the terminals of the base plate. If using batteries, confirm they are fresh and correctly installed, observing proper polarity.
Double-check the system’s power switch is in the ‘on’ position. A multimeter can verify voltage at the thermostat terminals. If problems persist, consult a qualified HVAC technician to rule out underlying electrical issues within your heating and cooling system.
Incorrect Temperature Readings
Verify the thermostat isn’t exposed to direct sunlight, drafts, or heat-generating appliances, as these can skew readings. Ensure proper airflow around the unit; obstructions can cause inaccurate temperature sensing. Calibrate the thermostat through the settings menu – a temperature offset adjustment may be necessary.
Confirm the thermostat’s location isn’t near exterior walls or poorly insulated areas. If the issue continues, check for loose wiring connections at the thermostat base. A faulty temperature sensor within the unit might require professional replacement. Consider a system-wide check of your HVAC’s calibration.
Resetting the Honeywell TH8320U1008 to Factory Defaults
To restore the thermostat to its original settings, navigate to the settings menu on the device. Locate the “Reset” or “Factory Reset” option – its exact location may vary slightly depending on the software version. Confirm your decision, as this will erase all personalized programming, including schedules and Wi-Fi connections;
A factory reset is useful for troubleshooting persistent issues or preparing the thermostat for a new user. After the reset, you’ll need to reconfigure the system type, date, time, and any desired scheduling preferences. Remember to re-establish the Wi-Fi connection if applicable.
Unlocking the Thermostat (If Locked)
If your Honeywell TH8320U1008 thermostat display is locked, preventing adjustments, access the settings menu. Look for a “Lock” or “Keypad Lock” option. You may be prompted to enter a security code – the default code is often “1234” or “0000”, but it could have been changed previously.
If you’ve forgotten the code, a factory reset (as described in the previous section) will typically disable the lock. However, this will erase all settings. After unlocking, consider changing the security code to a memorable, yet secure, combination to prevent accidental or unauthorized lockouts in the future.
Wi-Fi Connectivity and Mobile App Integration
Connecting your Honeywell TH8320U1008 to Wi-Fi unlocks remote control and advanced features via the Honeywell Home app (available on iOS and Android). Begin by downloading and installing the app on your smartphone or tablet. Follow the in-app instructions to create an account or log in.
The app will guide you through the thermostat’s Wi-Fi setup process, typically involving entering your network name and password. Once connected, you can adjust temperature settings, create schedules, and receive alerts from anywhere with an internet connection. Explore the app’s features for energy savings!
Battery Replacement
The Honeywell TH8320U1008 utilizes batteries as a backup power source, ensuring continued operation during power outages. The thermostat will display a low battery warning when replacement is needed – typically two AA alkaline batteries. Locate the battery compartment, usually accessed by removing the thermostat faceplate.
Carefully remove the old batteries and insert new ones, observing the correct polarity (+ and -). Ensure the batteries are securely seated. Replace the faceplate. While the thermostat can operate on battery power alone, it’s recommended to maintain a consistent power supply for optimal performance and features.
Cleaning and Maintenance
Regular cleaning ensures optimal performance and longevity of your Honeywell TH8320U1008 thermostat. To clean, first, power off the HVAC system to prevent accidental operation. Gently wipe the thermostat’s exterior with a soft, dry cloth. Avoid using water, cleaning solutions, or abrasive materials, as these can damage the display or internal components.
For dust accumulation around the vents, use a can of compressed air to carefully blow it away. Do not disassemble the thermostat for cleaning. Periodic visual inspections can help identify any potential issues. Proper maintenance contributes to accurate temperature readings and reliable operation.
Warranty Information and Support Resources
Honeywell offers a limited warranty on the TH8320U1008 thermostat, typically covering defects in materials and workmanship for a specified period from the date of purchase. Retain your proof of purchase for warranty claims. For detailed warranty terms and conditions, consult the official Honeywell documentation included with your product or visit the Honeywell Home website.
For technical support, troubleshooting assistance, or to register your thermostat, visit Honeywell’s support website or contact their customer service team via phone or email. Numerous online resources, including FAQs and installation videos, are also available to assist you.